How to Trim Facebook Live Video
How to Trim Facebook Live Video
In the live world, we’ve been watching all of the major players in live streaming platforms and helping our clients choose the platform or platforms that best fit their event streaming and audiences. Commonly, clients want to know how to trim Facebook Live video.
It’s no secret that we love Facebook Live, especially when paired with the Wowsa ClearCaster streaming appliance. One major issue we’ve had with streaming to Facebook is that unlike Youtube and some others, you didn’t have the capability to trim your content after your live stream. Thankfully, that’s finally changed!
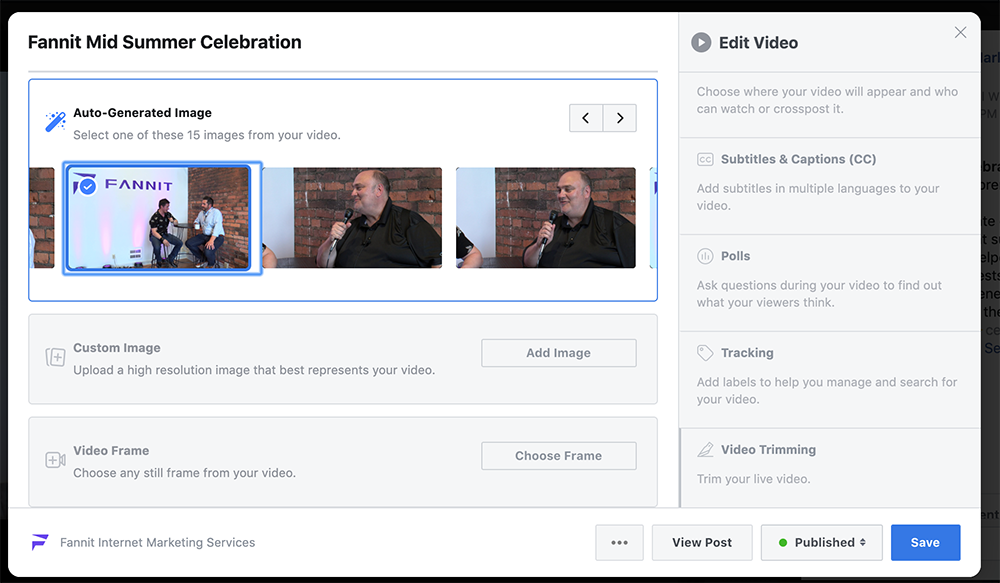
Last week, we completed a live stream for our marketing partners at Fannit. Afterward, when I went in to edit our post, choose a thumbnail and check on the analytics, I was delighted to find that I could now TRIM the video!
As a marketing person, I can now rest easy knowing there is an easy way to edit those moments when you go live and your talent takes a bit to come on stage. Or if you actually decide post-event that you’d rather not include the end of a presentation that talked about where attendees present in person could find the nearest bathroom or get their parking validated.
To trim your video just follow the following simple steps:
- On a computer, find your video, either on your feed or in your video library.
- Click the three small grey dots in the top right-hand corner to display the drop-down menu and select “Edit Video.”
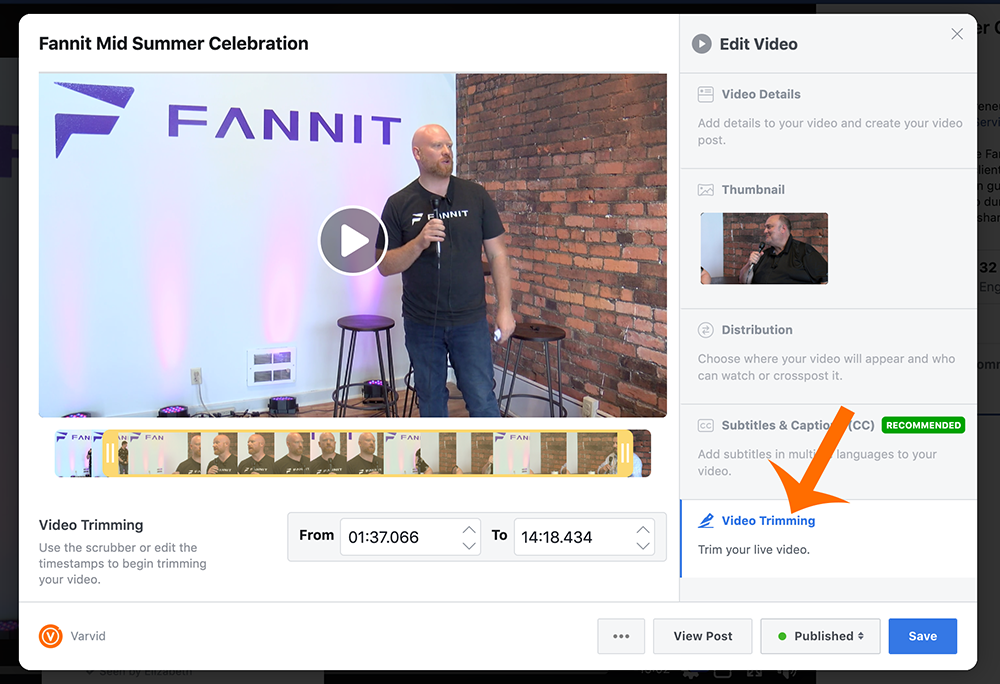
- And then select “Video Trimming”
- Now you can edit the start and end time of the video by inputting the time or by dragging the yellow slider. The area inside the yellow bars is the content you will be keeping and anything outside of that area to the left and right is going to be trimmed and deleted.
- Now click save and you’re done trimming! It may take a little time for Facebook to trim your content, but you will get a notification when it is complete.
Check out the images below to follow step-by-step!

You can also go back into “Edit Video” and add your video to playlists, add captioning, tags and much more.
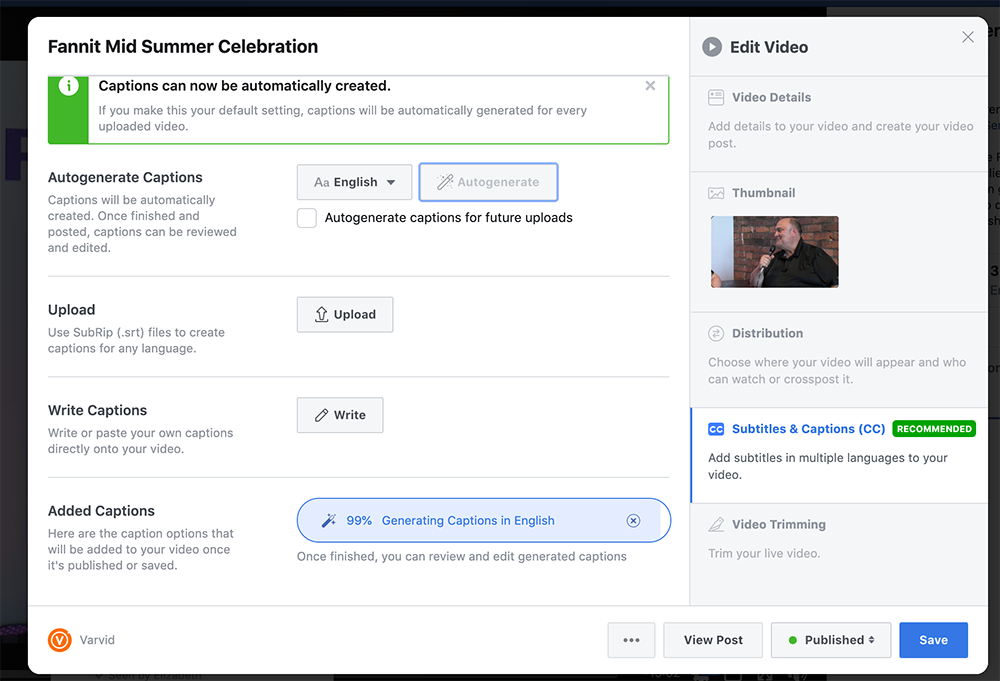
Be sure to check out all the options if you haven’t already.
